
I often see people struggling with how to finish projects that are 3-dimensional like a ball or a head shape. It can be hard to make it look smooth and seamless once you get to the very end and you have to somehow make that last little hole disappear.
I used to have the same problem. Before I learned the technic I’m about to show you I used to just keep crocheting around until there were no more stitches but ofcourse that creates a little tip or bump on top. Not ideal for a ball!
Here’s what you should do:
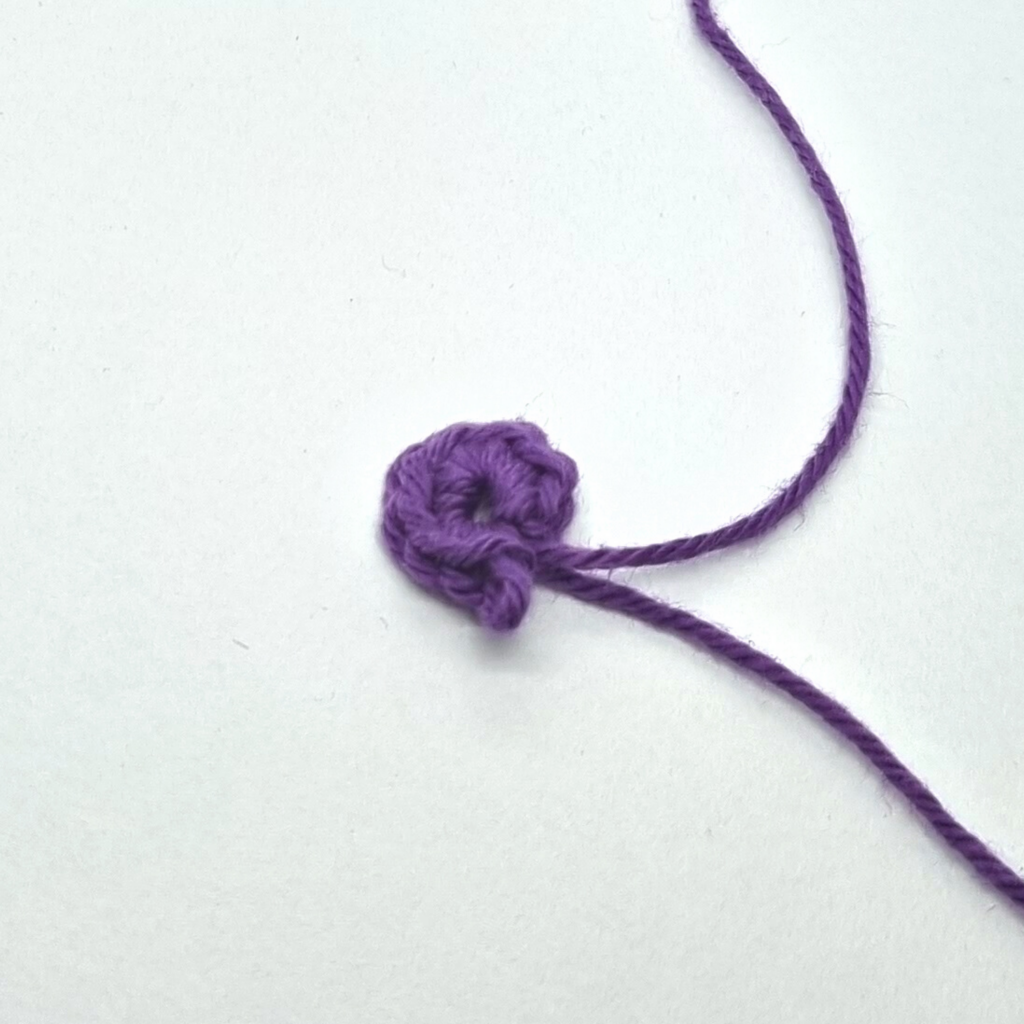
- Let’s say you started out with 8 single crochet in a magic ring. (Tutorial for the magic ring will come soon).
2. Once you have crocheted the shape you want, and you are down to (in this case) 8 stitches on a round, it’s time to cut the yarn. You want to leave enough yarn to close the opening, 10-15 cm is usually enough. The pattern should always tell you if you need more.
Remember to secure the yarn before you start sewing.
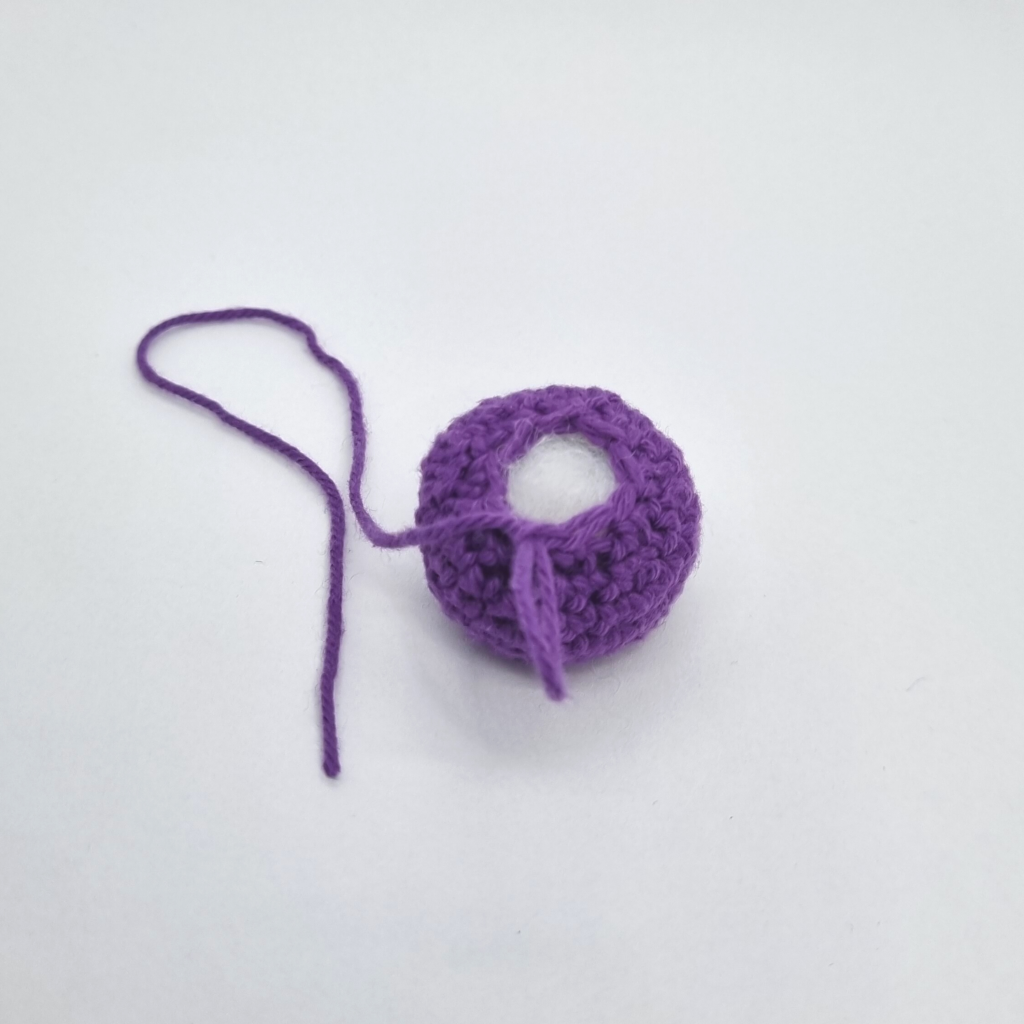
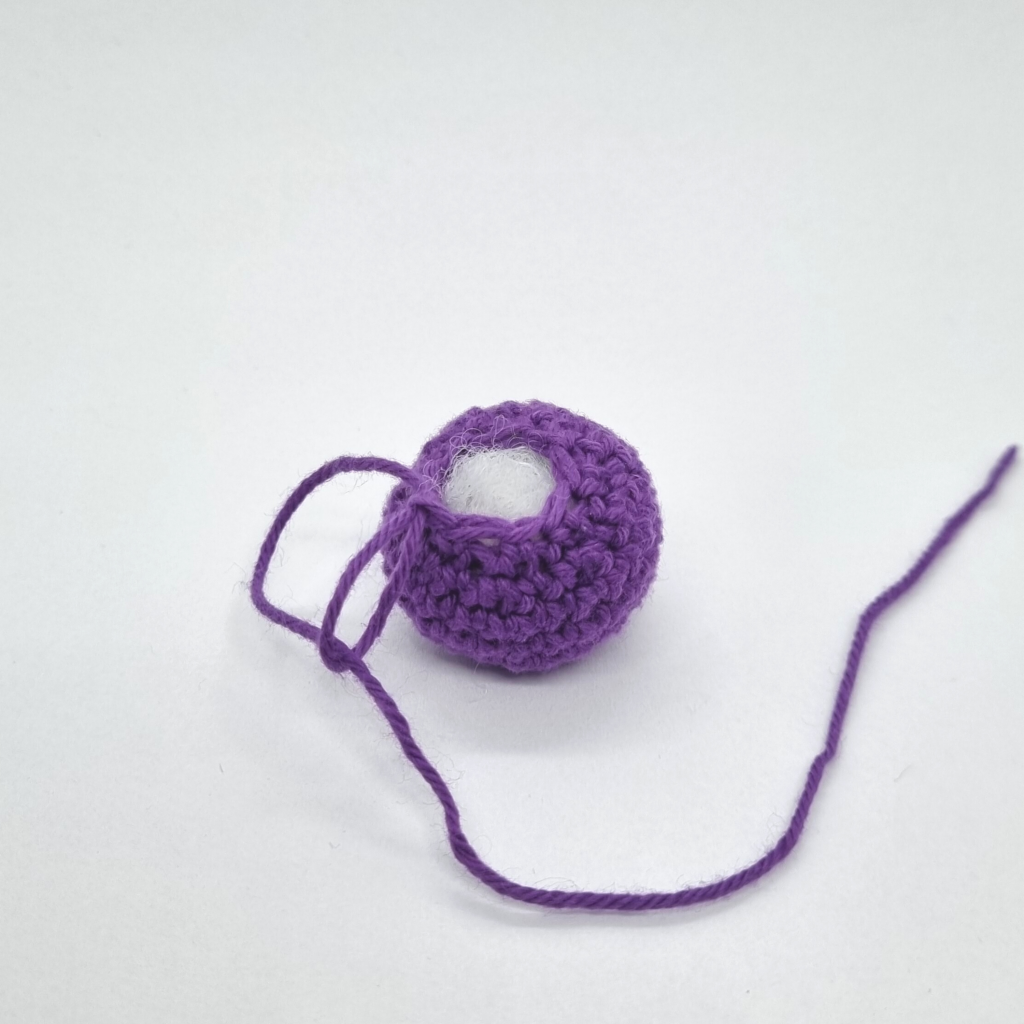
3. Thread the yarn on a yarn needle and start sewing in and out of the front loops in the last round until you have gone the whole way round.
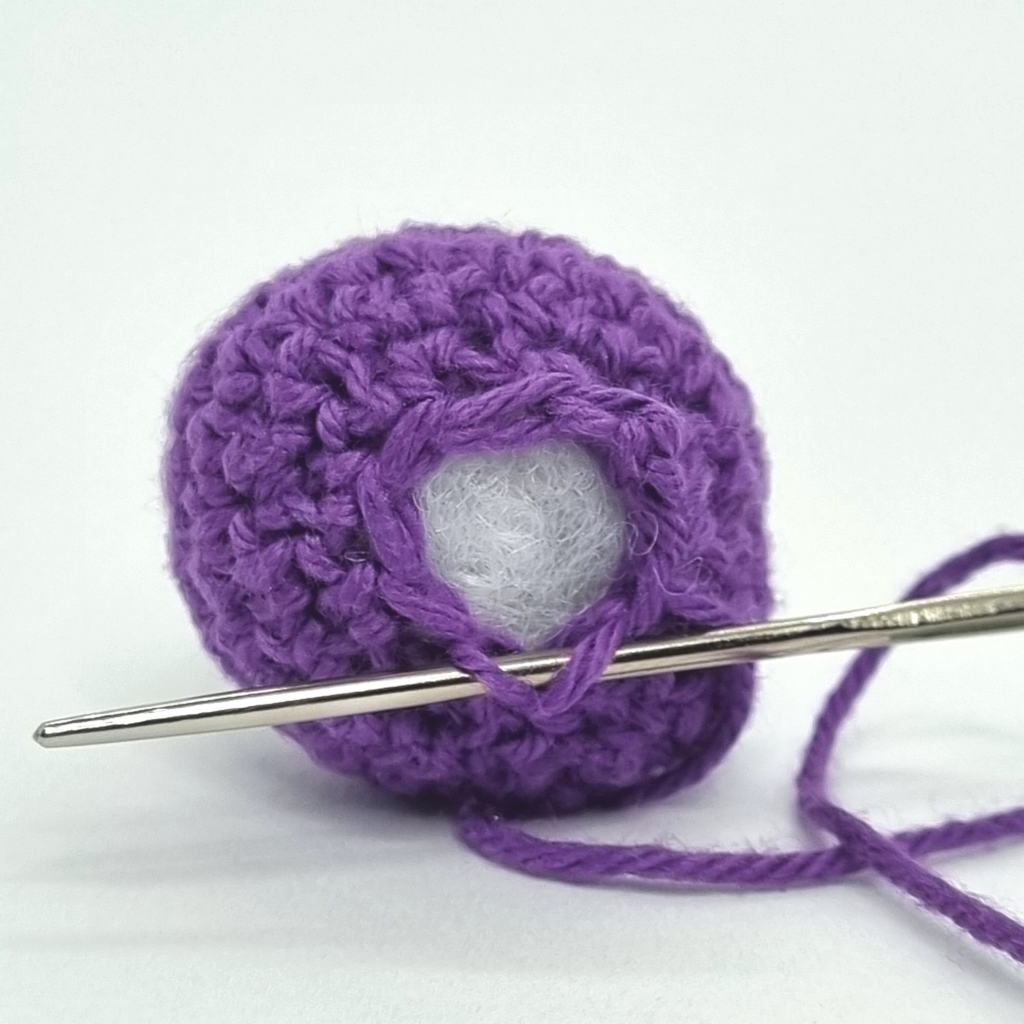
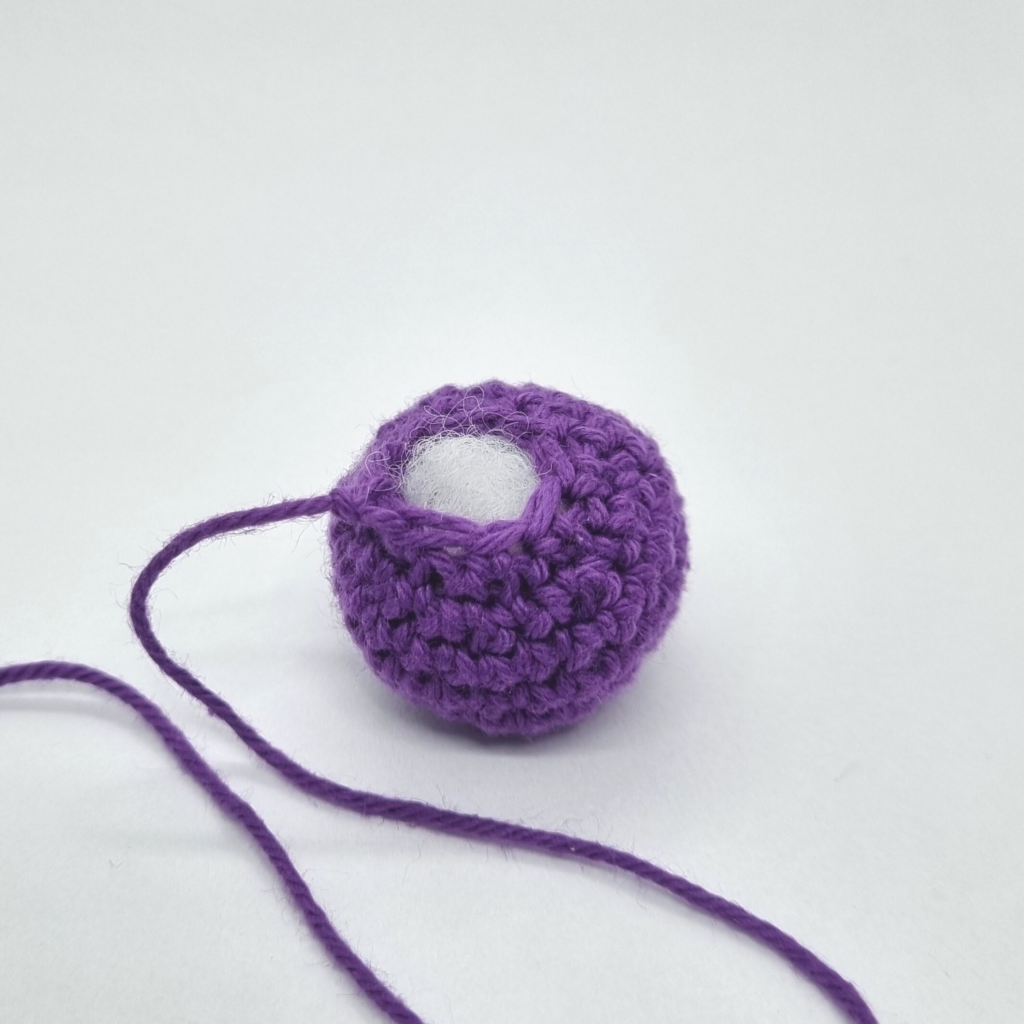
4. Now pull the end and the opening closes. Fasten the yarn.
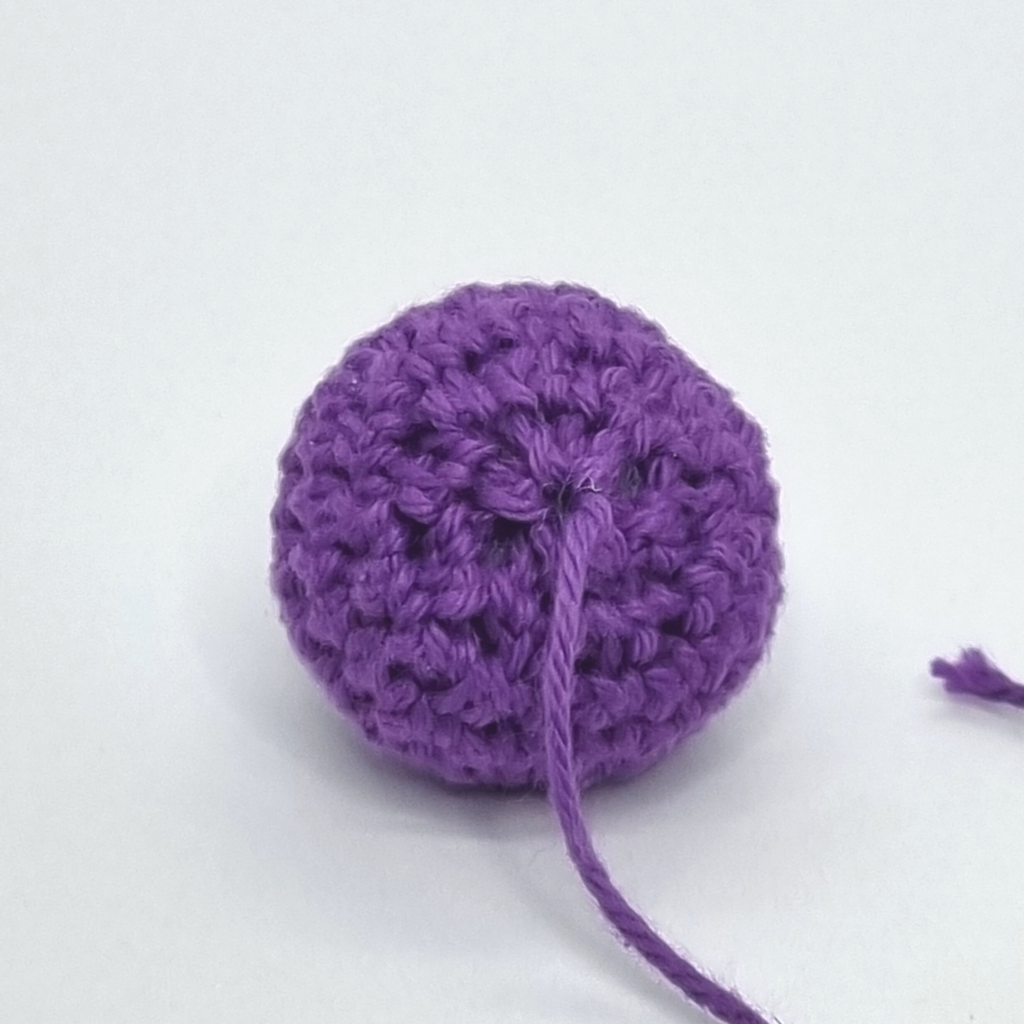
It looks nice doesn’t it?